


With Thanksgiving comes family, fun, and feasting… and with those things come messy table cloths! But that’s what placemats are for, and in this installment of Cathey’s Sewing & Vacuum blog, we’re going to talk about how you can make a stunning placemat for the Thanksgiving table that will look amazing and hopefully save us on a bit of post-feating laundry… probably not though.

How to Sew the Perfect Thanksgiving Placemat
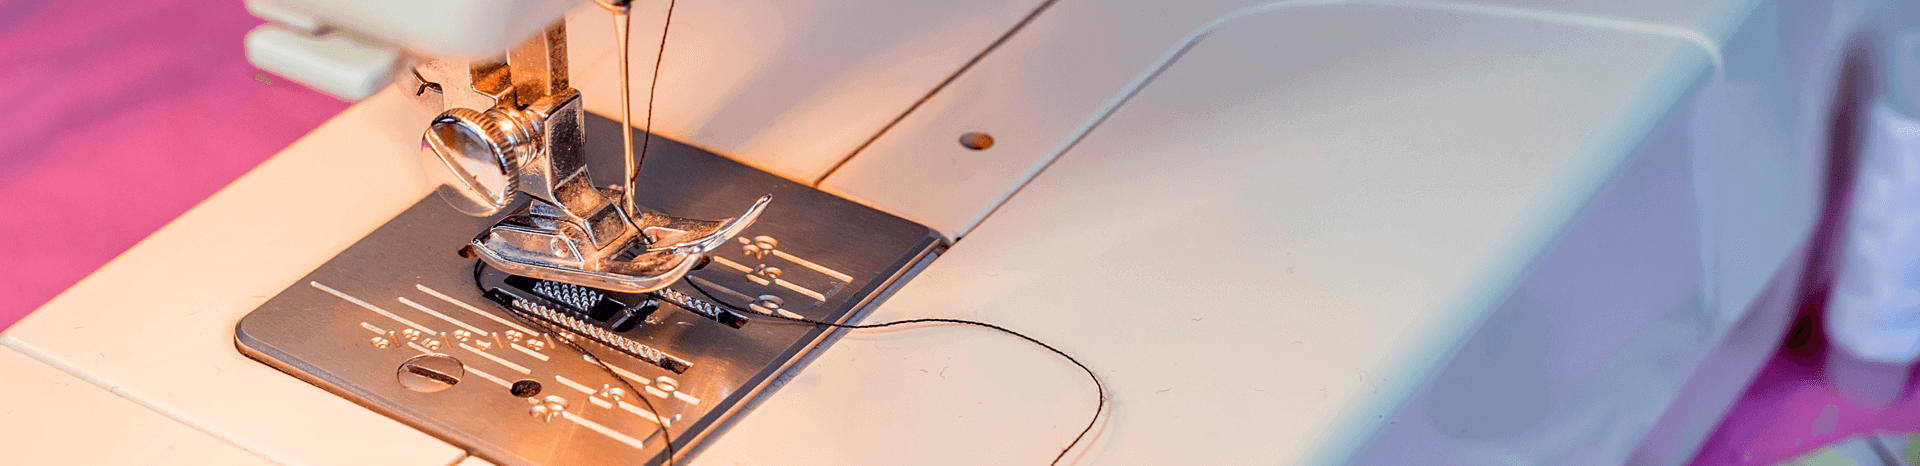
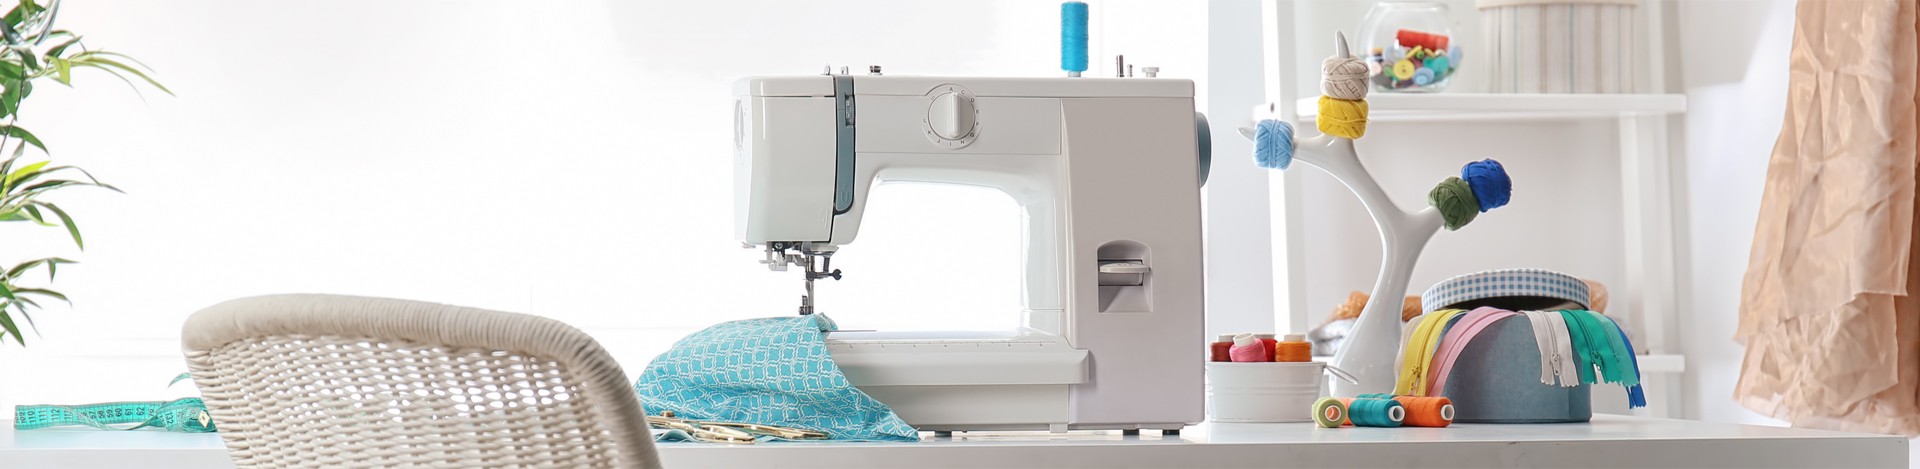
Making a placemat is not terribly difficult if you have the right supplies, the right tools, and a little technique. With the right materials, and maybe a little practice, you’ll get through it in two easy steps. So let’s get started.
The first thing you’ll need is to get a hold of an Autumn themed quilting cotton fabric. Consider getting more than one so that you’ll have a selection to choose from at the last minute. You’ll need roughly half a yard to complete each placemat. It’s always a good idea to get a little more quilting fabric than you need to compensate for the unexpected. You’ll also need some lightweight interfacing, sewing tools, and a sewing machine.
Step 1. Make the Foundation
Begin by cutting two 20×15 inch holes for each placemat. This will leave room for your one-half-inch seam on each side. Be sure the print goes in the desired direction before cutting.
Fuse each pair of cut interfacing, with the pattern concealed between them (we will be turning it right side out later) and trim away any mismatching edges. Pin the side together and sew around the perimeter leaving about half an inch of seam allowance, and a 5-inch hole for turning. Again, trim any mismatching corners.
Now use your five-inch hole to turn the placemat right side out. Roll your seams to bring the edge out and press the placemat to flatten it. Clip or pin the 5-inch hole closed. Then use topstitching around the edges and seal the hole.

Step 2. Add Your Favorite Quilting Pattern
Now add quilting to your placemat to strengthen it and to keep the interfacing where it belongs. Use an “X” pattern or series of quilting lines to form a grid. Many people prefer the grid pattern and say that it looks like plaid, which is a great match for the Thanksgiving table theme.
That’s it; you’re all done!
You’ll have noticed that making placemats this way is very easy. So use your artistic license with your first one and experiment a bit. After that, you should have your routine down pat. If you make a mistake on your first placemat, it’s no big deal. Just take your time and perfect your technique. Once you make a placemat you like, you’ll be able to repeat the process with ease.
Don’t forget to check out our blog every month for new tips and tricks that will make your crafts and holiday projects the talk of the town.
Sources
https://www.heatherhandmade.com/how-to-make-a-fall-placemat/