


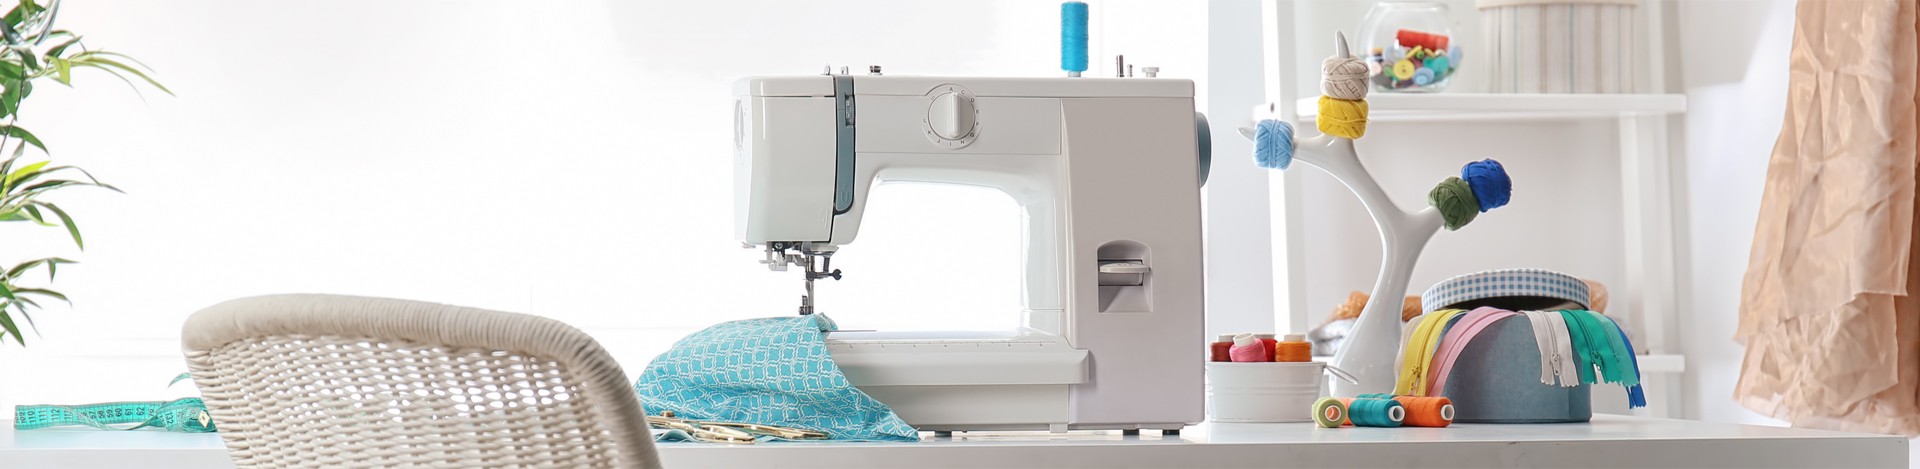

If you’re like most crafting fans, by this time of year, you’ve probably got a hefty pile of Christmas-style fabric with your name on it. If so, what you need are some handy holiday sewing ideas to make into gifts and holiday craft decor. As usual, Cathey’s has got your back with fun and cheerful holiday sewing ideas to keep you busy, making sure no stockings go unstuffed.
Two Adorable Holiday Sewing Ideas
Simple Christmas Stocking
You know you’re going to need them to fill out your Christmas decorating plans. These are very easy to make and fun to fill!
Materials:
- ½ yard of two kinds of fabrics (One for the inside and one for the outside. The interior fabric should be softer than the outer fabric.)
- Optional ribbon for a hanger
- Stocking pattern pieces
Instructions:
- Draw your pattern pieces, making sure they are the right size, and tape them together.
- Fold the pattern in half so that you get two identical pieces when you cut them out. Do this twice, once for the inner layer and once for the outer layer.
- Sew the two outer pieces together on the bottom and sides for both inner and outer layers. Do the same for your second layer. If you’re using minky or fur, be sure to use a lot of pins to keep the sides still as you sew.
- Turn the inner layer stocking right side out and the outer layer inside out. Insert the inner layer into the outer layer and pin at the top.
- Sew the layers together at the top, leaving a two to three-inch opening. Then turn the whole thing right side out through the opening.
- Smooth the whole thing out, hang it, and start stuffing!

Santa’s Helper Cooking Apron
This adorable apron will make you the belle of the ball amongst the holiday chefs in your family. It’s so easy- why not make one for your mom and sisters?
Materials:
- One yard of white fabric
- One yard of red fabric
- Narrow silver ribbon
- Thick black ribbon
Instructions:
- Draw your pattern for the base of the apron based on your measurements. It should be roughly pear-shaped, reaching around your waist at the broadest point, and include neck-straps at the top.
- Placing your red and white fabrics together, pinning them as necessary, cut both at once to produce the apron’s inner and outer layer.
- Sew the edges of these two main pieces together.
- Cut your black ribbon a couple of inches longer than your apron is wide at the waist for the belt. Then cut four pieces of your silver ribbon to create the four sides of your belt buckle.
- Sew the belt and buckle into place around the edges, preferably using a sewing machine.
- For extra flair, cut a three-inch wide strip of white fabric that is about a foot longer than the outer edge of the apron. Crease it with about a ¼ inch fold every four to five inches and sew it to the edge of the apron. This is probably the easiest way to tidy up the edges.
Visit Cathey’s for all of Your Tucson Crafting Needs
Don’t forget, Cathey’s has everything you need for your holiday craft décor and gift projects. Visit us online or come on down to see what we’ve got in stock!